

H3D Tutorials
Tutorials Categories
- Animating (4)
- Character (9)
- Dynamics / FX (10)
- Modeling (25)
- Paint FX (3)
- Rendering (1)
- Rendering / Lighting (17)
- Texturing (7)
- Using Tools / Scripts (4)
Unwrapping with Texporter
In this small tutorial, I will try to demonstrate the easy use and flexibility of TEXPORTER, (free plugin) with two simple planar maps, an alternative for who doesn't want to spend a long time "sewing" unwraps. You will know one of the simplest and most effective ways of mapping an object. For th...
Realistic Eye Modeling for 3D Characters
I'm posting a very simple tutorial on how to model and apply shaders to get realistic eyes, the "windows of your character's soul". A lot of times, bad eyes can "kill" your character literally, even if it has the most perfect modeling of the world. The importance of the eyes is exactly this: give...
Realistic Ear Modelling
Translation thanx to Mihai Pocorschi III - www.antena1.ro.This tutorial is mainly aimed at those users with experience in polygon modeling.Poly-by-poly is a modeling technique that involves constructing the polygons one by one, aiming at drawing the "edge-loops" of the object, similar to spline m...
Organic Modeling and Animation - Part Three (Anima
This article was printed in the 1998 siggraph issueof 3D Design magazine, for an article Alex Alvarez wrote entitled 'Organic Modeling and Animation in Maya V.1',Alex is director and instructor at Gnomon Training Center, a HIGHEND3D.COM strategic partner. Alex teaches advancedacharacter nimation ...
HUMAN INDIRECT SKINNING WITH FREE-FORM DEFORMERS I
paul@paraform.compthuriot@hotmail.comINTRODUCTION There�s only one thing you need to remember as you go through this tutorial: there�s no �one way� to setup a character for digital animation�this way just generally works for me�! Every animator/ studio is going to have their own �personal� way of...
Bone Setup for a Dragon
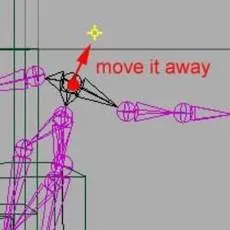
Hi, welcome back to my tutorial. This time I am going to show you how I setup bone for the dragon in the ready to animate way. Before I write this article, I've been completed a shot animated sequence of the dragon. A lot of mistake I've made during the setup, bind skin and IK. Most of the mistak...
Poly Mechanical Modelling
This will cover modeling the hand, starting with a polyCylander.Create a 12 sided cylander and rotate 90 dgrees on Z axis. Select three faces and extrude them. Flatten and move them as shown in the .gif below until you have a cool design. Scale the front smaller so that it will look like it fits ...
Wrap Skinning for Bone/Muscle Driven Skin Deformation
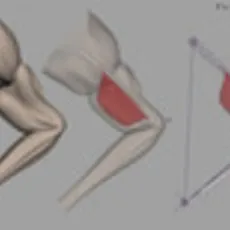
The following concept overview will be covering Wrap Skinning for the purpose of actual muscle/bone deformation of the skin.The basic concept is:Skeleton Joints driving Bones driving Muscle movement/shape driving Skin deformation.Skeleton Joints>>Geometry Bones>>Geometry Muscle>>...
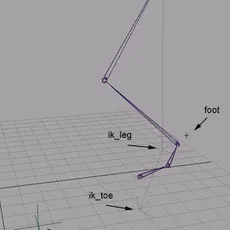
MAKING AN ADVANCED LEG SKELETON
by Bora Dayioglufor comments and suggestions;mailto:bora@animationartist.netHome PageHi everyone,In this tutorial I tried to explain my solution to make an easy to animate leg skeleton approach. What I did is simply to create two simple leg skeletons to drive the main skeleton which will later be...
Character Setup for Real-Time in Maya 3.0
We have already covered creating a skeleton optimized for real-time not only in its number of joints but also in the way the axes of each joint is oriented. We will now address creating controls for the animator to use when positioning the character. This is in essence digital puppeteering.Creati...

ADVANCED CHARACTER SET UP IN MAYA 3.0
In this tutorial we will be creating an IK setup, controls, and skinning for the little kitty above.The first step is to make a model. This one is in NURBS, but you can make it in subdivison surfaces instead if you want.MODELINGMake some curve circles and move them around til they look like the a...
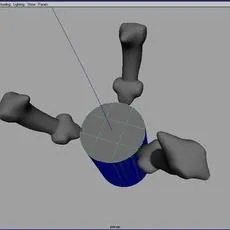
How to create a moving Tentacle using Procedural animation
Stage 1:Creating the Tentacle animationGo into the side view and create a curveRebuild the curve with more CV�s, about 30 will do.Next create a nurbs circle to the thickness you want your Tentacle to be.Select the circle then the curve and extrude a surface using the following settings:TubeAt Pat...

Non-Linear Animation in Production
Adam Martinez Technical Director, GLC ProductionsWho are you and what is this?Hello! My name is Adam Martinez, and I am a technical director at GLC Productions in New York City (www.glc.com.) As a technical director, I get asked to do all sorts of silly things, like light shots, shade models, cre...
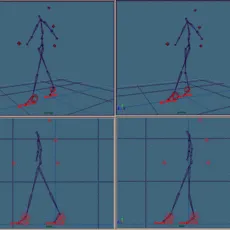
Character Setup for Real-Time in Maya 3.0
We have already covered creating controls for the legs of our character. We now want to tackle the spine area of the character. This is a source of many headaches for setup artists. The reasoning is that the spine is not an independent joint chain like the legs are. Instead, the spine reacts to t...
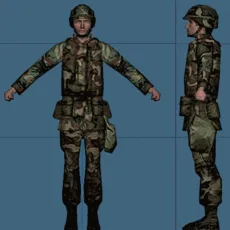
Character Setup for Real-Time in Maya 3.0
The process of getting real-time characters ready for animation involves a balance between animator, programmer and engine. Most setup artists are confronted with the issue of delivering to the animator the flexibility of movement for a character while placed within the restrictions of a run time...
Emit Geometry from a Point Emitter
Softbody objects in Maya are actually a type of particle effect. Maya allows you to connect any particle object to any emitter. Therefore you can actually emit geometry from a point emitter.1. Open/import a Nurbs or a polygonal object2. Make this object a softbody with a GoalWeight of .753. Creat...
The Smoking Maya Tutorial:
some assembly may be required ;) add " Maya*glRenderView.saAccumbuffer: False " into your .Xresources file in your home directory1) create nurbs cylinder (with end caps)2) rotate 90 deg about Z3) scale to 4.5 units in Y4) create nurbs sphere with end sweep 1805) translate 4.5 in X6) rotate 90 deg...
Organic Modeling and Animation - Part Two (IK Setu
This article was printed in the 1998 siggraph issueof 3D Design magazine, for an article Alex Alvarez wrote entitled 'Organic Modeling and Animation in Maya V.1',Alex is director and instructor at Gnomon Training Center, a HIGHEND3D.COM strategic partner. Alex teaches advancedacharacter nimation ...
Maya|Dynamics - Interparticle Collisions
Edited by nathaniel adam briggs - syntheticMagic.comOk, this tutoral on interparticle collisions (particles from the same emitter colliding) and particle - particle collisions (particles from different emitters colliding) is fairly simple. Anyone who is comfortable with using emitters and the Dyn...
Dynamic Constraints
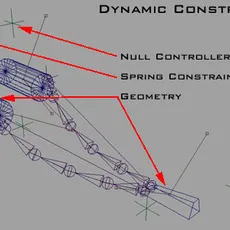
The following concept tutorial will be covering Dynamic Constraints for sled or Star Wars pod type rigs.Anatomy of Concept:Nulls drive the translation of the spring constraints.Spring(s) contraint drives geometry movement.Steps for Creation:Geometry Construction:2 cylinders, 1 translated +3 X, 1 ...
Surface Emitted Particles on SoftBody Tenticles
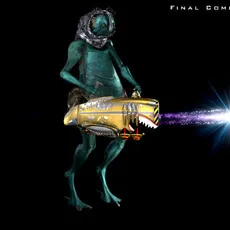
The following concept tutorial will be covering Surface Emitted Particles on SoftBody tenticles to create a spiraling array particle system for futuristic gun blasts or whatever.Anatomy of Concept:A central control object drives the vector and twist of the softbody goals.Particles are emitted fro...
PaintFX Hair
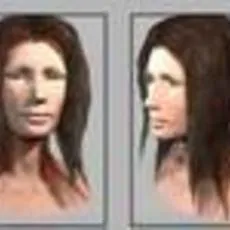
Home PageIs this a Hag or not! After seeing some posts about this subject on Highend list, I decided to write a very short tutorial about the most important things Duncan pointed out about using PFX for hair. I picked up the female nurbs head created by Jeffrey Wilson on the Design community webs...
Z-Depth in After Effects
The Following exercise is just that, an exercise in getting a little more cooperation out of After Effects using Maya. It's not really about actual Z-Depth in After Effects, but Fun With Matte Keys instead. 1- Lets start with two planets, Earth and it's satellite, the moon (two spheres w/ the app...
Colliding Softies with Rigids:
1) Primitives->create nurbs->plane []2) Change the U patches and V patches to 203) Scale it 7 units in the X, Y, and Z4) Translate it to 5 units in the Y5) Bodies->create soft body6) Bodies->create springs7) Change the damping to 0.058) Primitives->create nurbs->sphere9) Scale i...
PAINT EFFECT : RESTORE BRUSH
When we work on image in canvas mode one an image, often we needs to erase a part or in transparency the effect of brush which one has just pose.In this case the technique of brush by restoration of the basic image and not of the background proves to be necessary.This type of brush is on Eclipse ...