

H3D Tutorials
Multipass Compositing
Multipass Rendering : Quick Tutorialby Tahl Niran.IntroductionMost people know that you can get the best results from outputting multiple passes from your 3d app and then tweaking these in 2d. What I have put together is a simple breakdown of a setup which will allow you a lot of control in compo...
Compositing Ambient Occlusion and channel based lighting.
Compositing Ambient Occlusion and channel based lighting.By Tahl Niran. Hi this is another in a series of my shake tutorials. Although I am using big words in the tut name, what I am really interested in covering here is a workflow for relighting and tweaking the lighting of 3d CGI in a comoposit...
Face Crack Tutorial: Part 1
Face Crack Tutorial: Part 1Rig removal and clean plate generation in Shakeby Tahl Niran.After quite a few requests for tutorials on this subject, I have dug up an old shot for a short film I worked on a few years back. The film was shot on a variety of formats and mastered at 1k for a 35mm finish...
Simple Set Extension in Shake
Simple Set Extension in Shakeby Tahl Niran.Set extensions and compositing matte paintings are some of the most spectacular and satisfying shots that a compositor can work on. In this tutorial we will be looking at a very simple application of the principles involved. I have also included an After...
Build a Keyer
Keyer Math 101: The basicsby Tahl Niran.IntroductionThis is not a tutorial about how to get perfect keys and get great integration of your bluescreen/greenscreen elements. I also acknowledge that shake ships with two awesome plug-in keyers and one very dubious default chroma key. Before we look a...
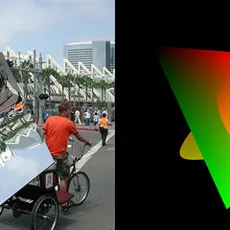
UV Map Now or UV Map Later
UV Map Now or UV Map Later With a little tinkering and the right movie as input, you can make a displacement node perform UV mapping within Shake, putting an ordinary still image into motion. Instead of mapping an image onto an object, map absolute UV addresses. By subtracting a reference pattern...